Git Guide - Windows Process✌
0 Checking for Git
To see if you already have Git installed, open up your windows command prompt or “Git Bash”.
Once you’ve opened your terminal application, type git version. The output will either tell you which version of Git is installed, like:
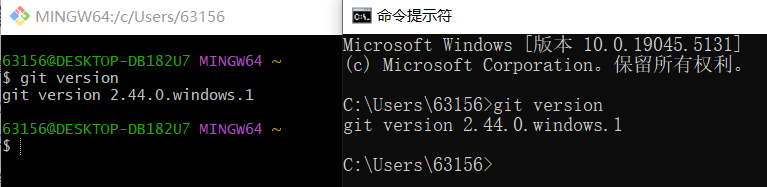
or it will alert you that git is an unknown command. If it’s an unknown command, read further and find out how to install Git.
1 Git Installation
1.1 Git Download
Git can be downloaded from several sources:
- Official Git site — There are the installers and source code for all systems and platforms (Windows, Mac, Linux)
- Git for Windows — Directly for Windows systems.
- Aliyun Mirror — A mirror for faster downloads in some regions.
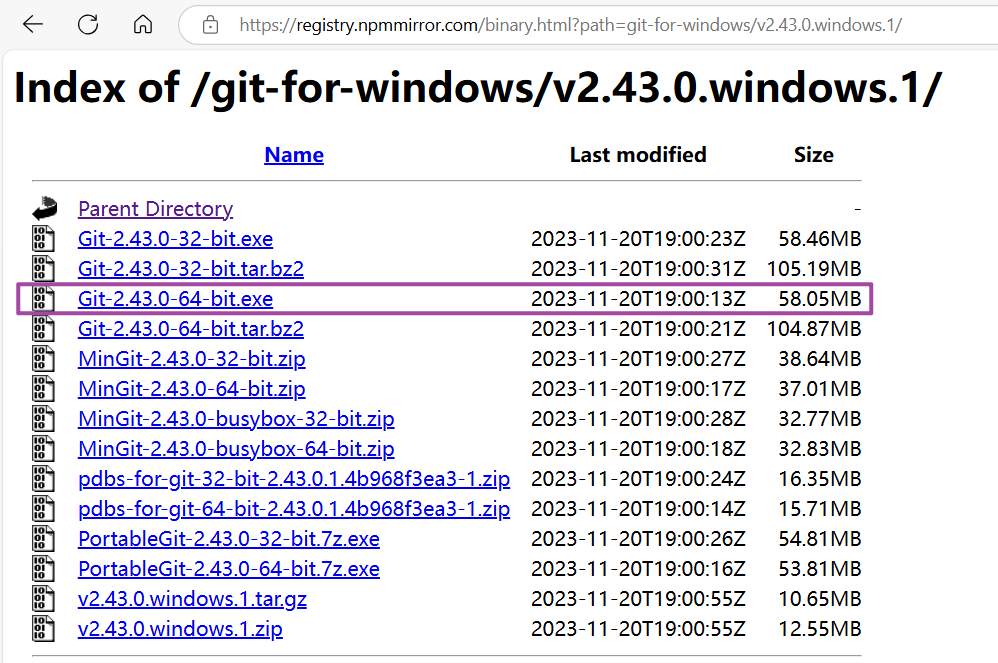
There takes Aliyun Mirror as an example, downloading Git-2.43.0-64-bit.exe. You can use the shortcut Ctrl+F to find the version you need.
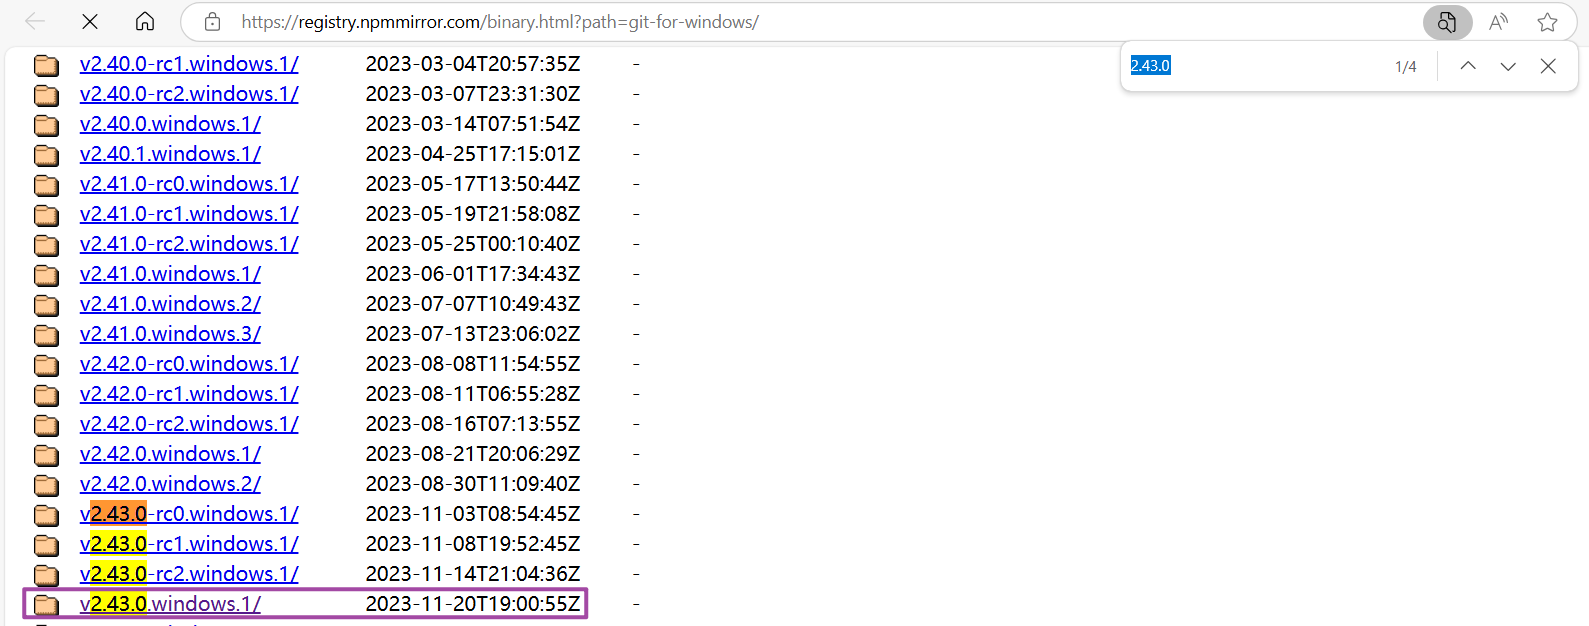
Click and download the appropriate version.
1.2 Git Installation Steps
1.2.1 Start the Installation
- Double-click the downloaded
Git-2.43.0-64-bit.exeto begin the installation. You will see a screen showing the GPL License Agreement. - Click Next.

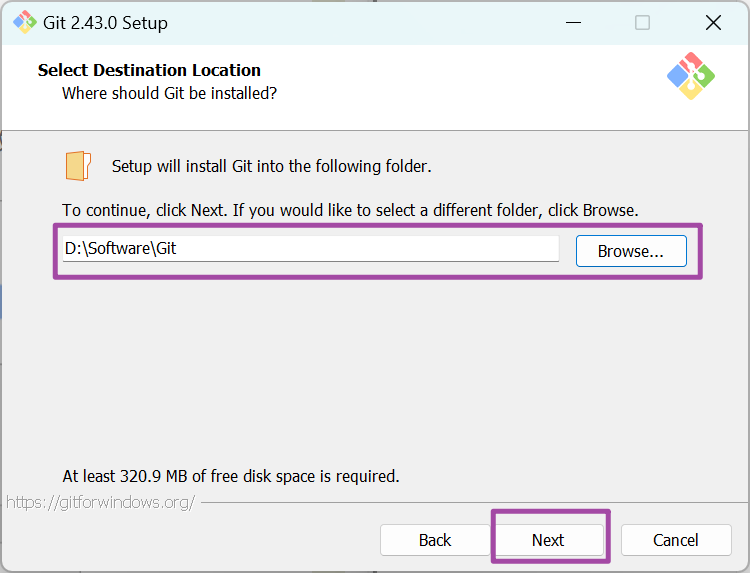
1.2.2 Choose Installation Path
- You can change the installation directory by clicking Browse…. Most users can leave it as the default.
- Click Next.
Skip the detailed installation steps
For a faster installation, you can just select the default installation option later in the installation process. Skip directly to the introduction after the installation is complete. [Skip directly to the introduction 👋 [1.2.15 Installed successfully]](# 1.2.15 Installed successfully)
If you want a more elaborate installation, then let’s move on!
1.2.3 Select Components
- Select optional components for integration with Windows Explorer and context menus (Git Bash, Git GUI, etc.), which is very useful for ease of access.
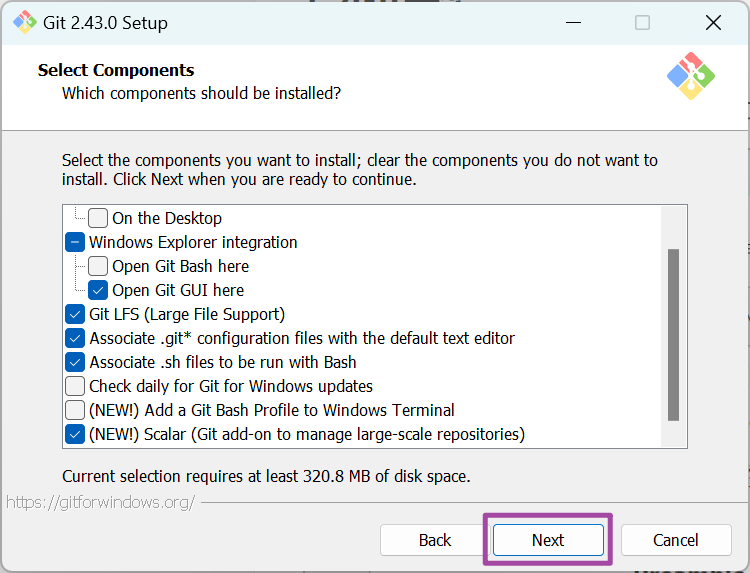
On the Desktop:
- This option creates a Git shortcut on your desktop for quick access to the Git Bash terminal.
Windows Explorer Integration:
- This option integrates Git with the Windows File Explorer, enabling you to right-click on files or folders to access Git operations directly from the context menu.
- Open Git Bash here:
- This option adds an option to the Windows right-click context menu to open Git Bash directly in the folder you’re currently in. It makes it easy to open a terminal window at a specific location.
Open Git GUI here:
- Similar to “Open Git Bash here”, this option adds an option to open the Git GUI from the right-click context menu. Git GUI is a graphical interface for Git, useful for users who prefer not to use the command line.
Git LFS (Large File Support):
- Git LFS is an extension to Git that helps manage large files, such as media assets (images, videos) or large datasets. It replaces large files with text pointers inside Git, while storing the actual file content on a separate server.
Associate .git* configuration files with the default text editor:
- This option ensures that any
.gitconfigor.gitignorefiles (or other Git-related configuration files) are opened automatically with your default text editor when you double-click on them.
- This option ensures that any
Associate .sh files to be run with Bash:
- This option associates
.shshell script files with the Git Bash terminal. When you double-click on.shfiles, they will open in Git Bash instead of the default Windows shell.
- This option associates
Check daily for Git for Windows updates:
- This option enables Git for Windows to check for updates daily. This ensures you’re notified when a new version of Git is available for installation.
(NEW!) Add a Git Bash Profile to Windows Terminal:
- With this option, you can add Git Bash as a profile in Windows Terminal, which is a modern terminal emulator that supports multiple shell types (e.g., PowerShell, Command Prompt, Git Bash). This makes it easier to switch between different shells from a single terminal window.
(NEW!) Scalar (Git add-on to manage large-scale repositories):
- Scalar is a Git extension designed to help manage very large repositories. It improves performance when working with large-scale projects by optimizing certain aspects of Git’s behavior (like fetching and cloning), making it easier to handle huge repositories with many files and branches.
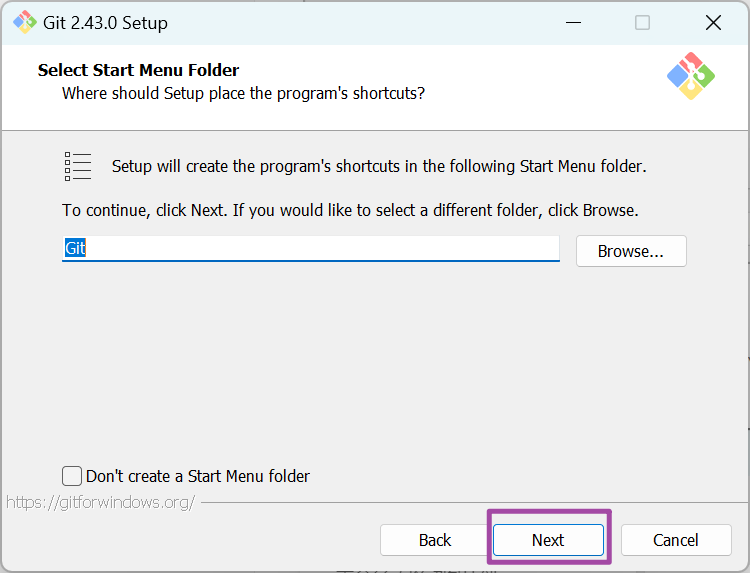
1.2.4 Set Up Start Menu Folder
- You can specify a folder in the Start Menu or opt to skip creating one.
- Click Next.
After the installation is successful, the picture in the start menu is as follows:

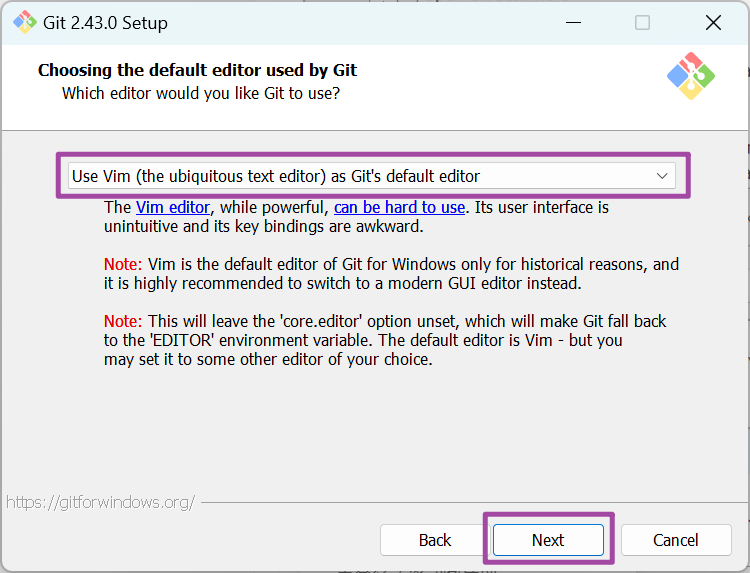
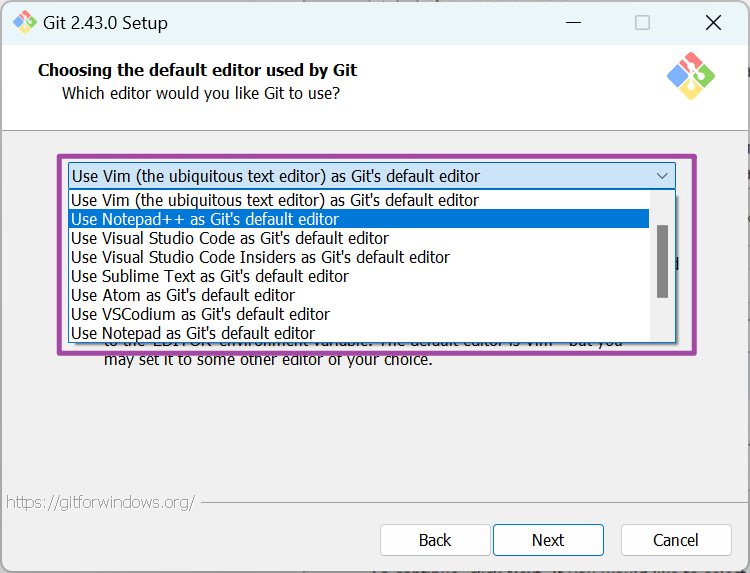
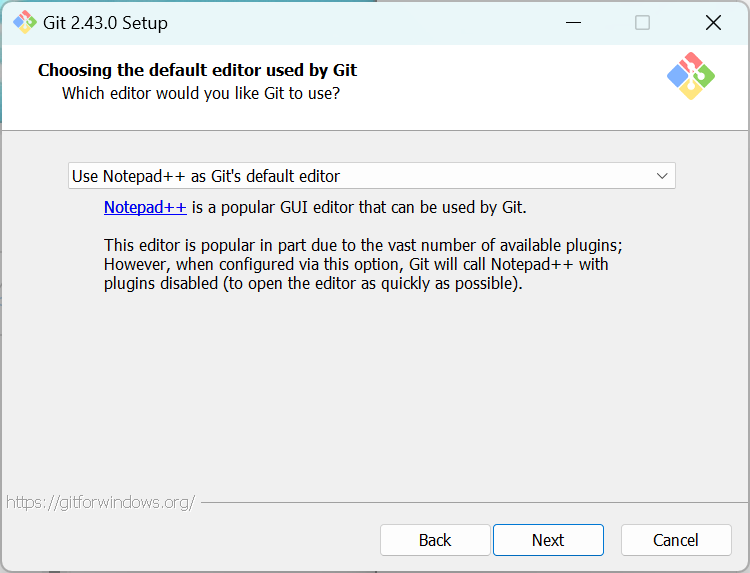
1.2.5 Choosing Default Editor
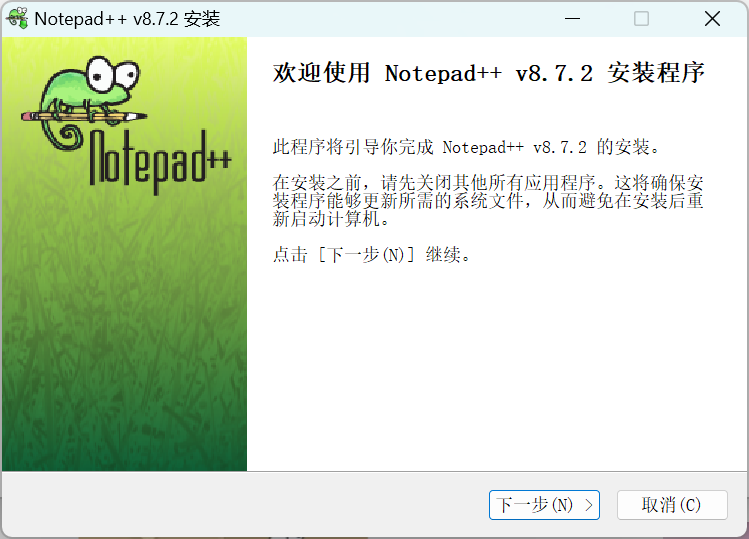
- Git installs with Vim by default, but if you’re not comfortable with Vim, selecting another editor like Notepad++ or VSCode might be easier.
- Note: If you choose Notepad++, install it first from Notepad++ website.
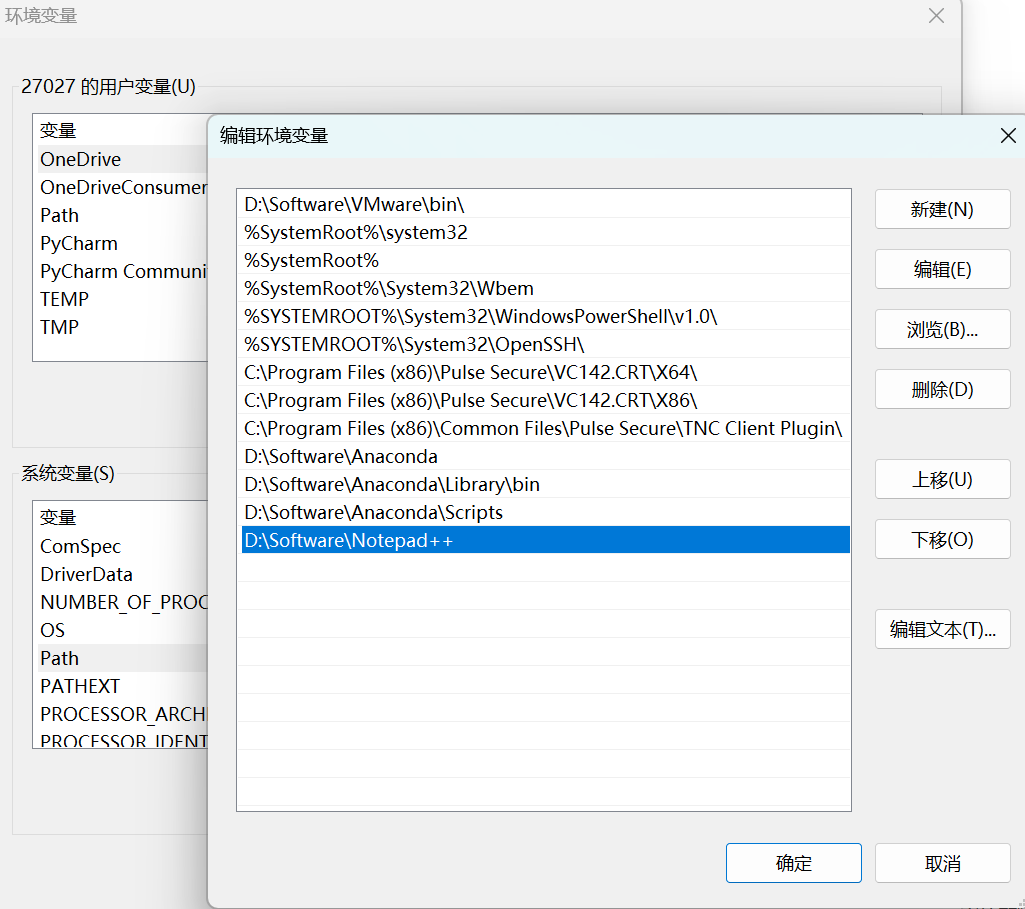
After installation, you should also configure it in’My Computer - > Properties - > Advanced System Settings - > Advanced - > environment variables - > System Variables - > Path- > Edit and add the installation address of’Notepad ++ ‘, such as D:\Software\Notepad +.
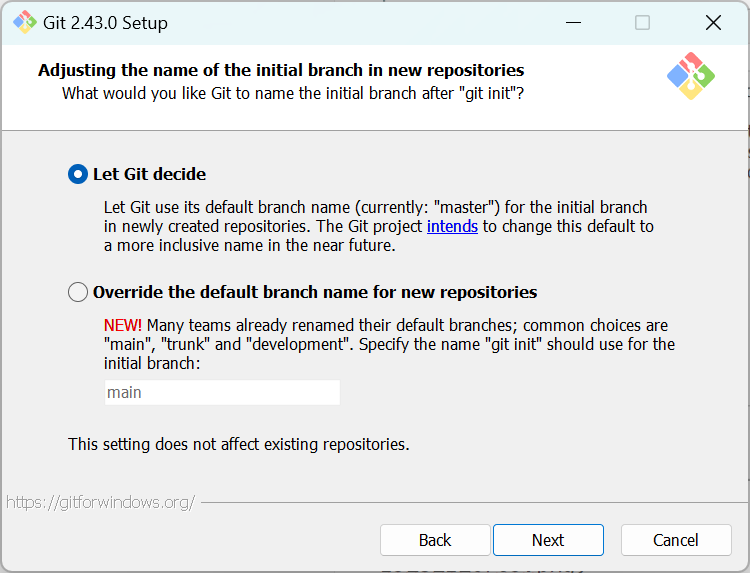
1.2.6 Select Default Branch Name
- Git will let you choose between
masterormainas the default branch name for new repositories. - Most modern projects use
mainas the default branch.
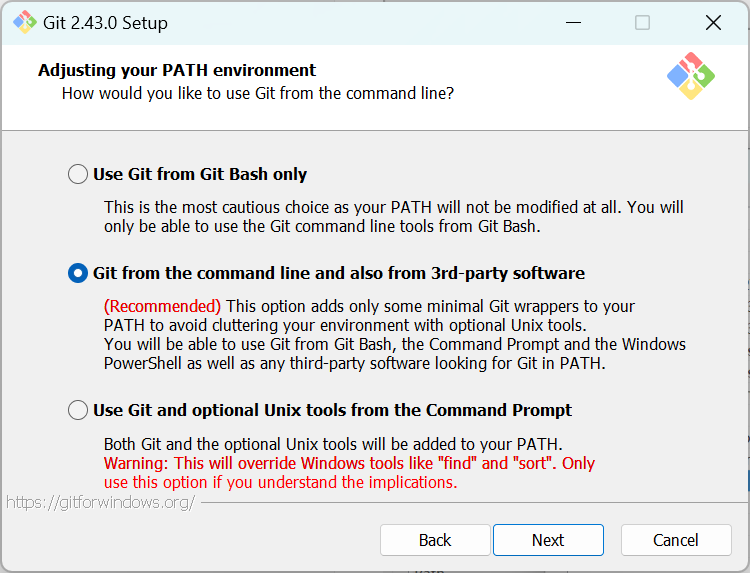
1.2.7 Adjust PATH Environment Variable
- Choosing the second option is usually the best, as it allows Git to be used from any command-line interface (Git Bash, Command Prompt, PowerShell).
1.2.8 Select SSH or HTTPS
- Choose SSH if you’re using SSH keys for remote connections, otherwise, HTTPS is fine for most users.
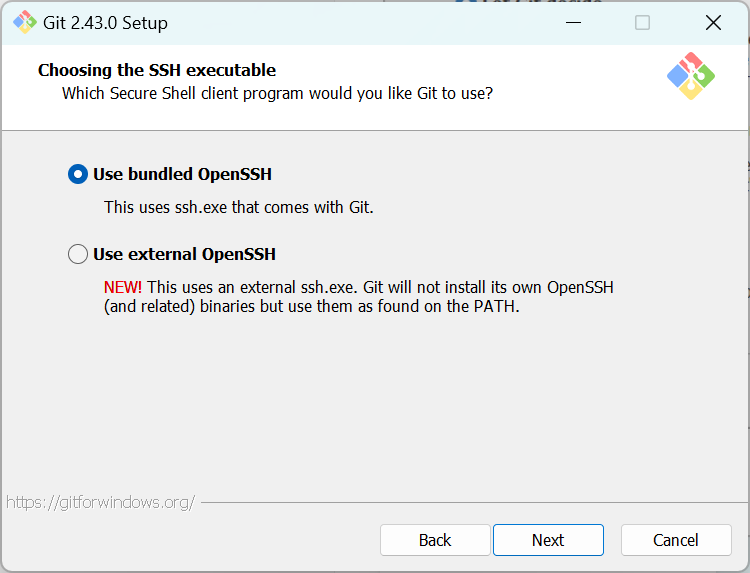
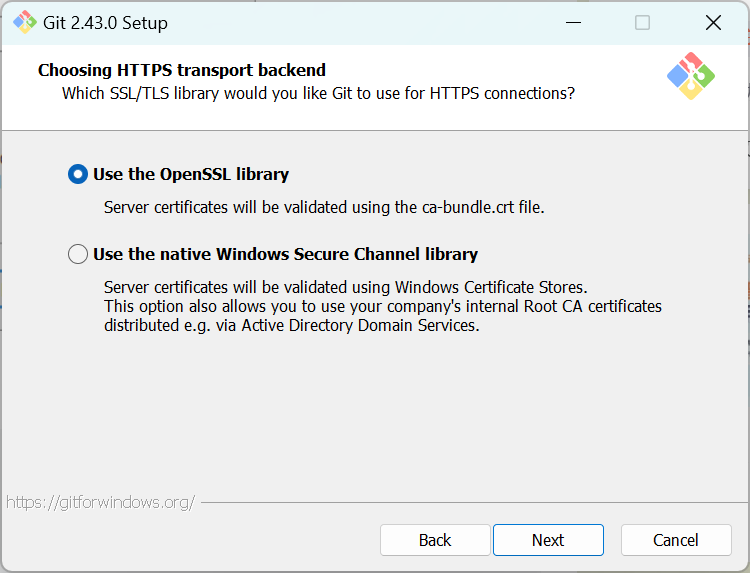
If you use Git in an organization with enterprise-managed certificates, you will need to use secure channels. If you only use Git to access public repositories (such as GitHub), or if your organization doesn’t manage its own certificates, then an SSL backend (which are just different implementations of the same protocol) is fine.
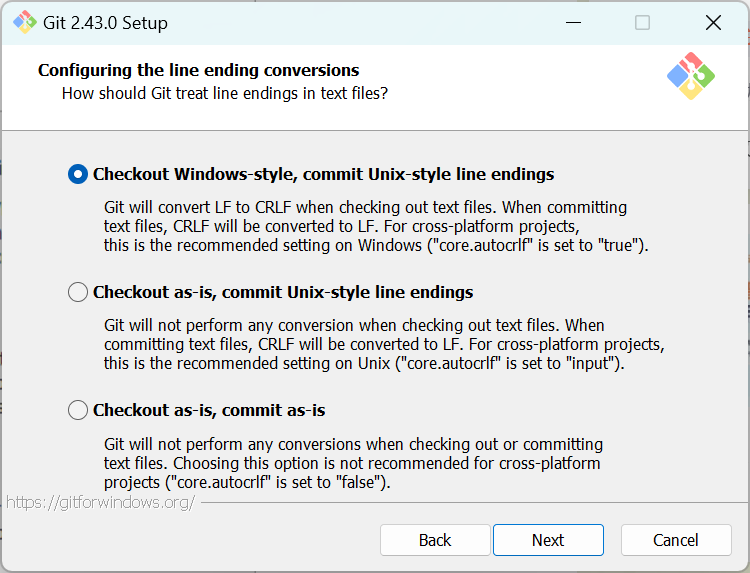
1.2.9 Configure End-of-Line Conversion
- It’s recommended to choose Checkout Windows-style, commit Unix-style line endings to prevent line-ending issues between Windows and Linux/Mac.
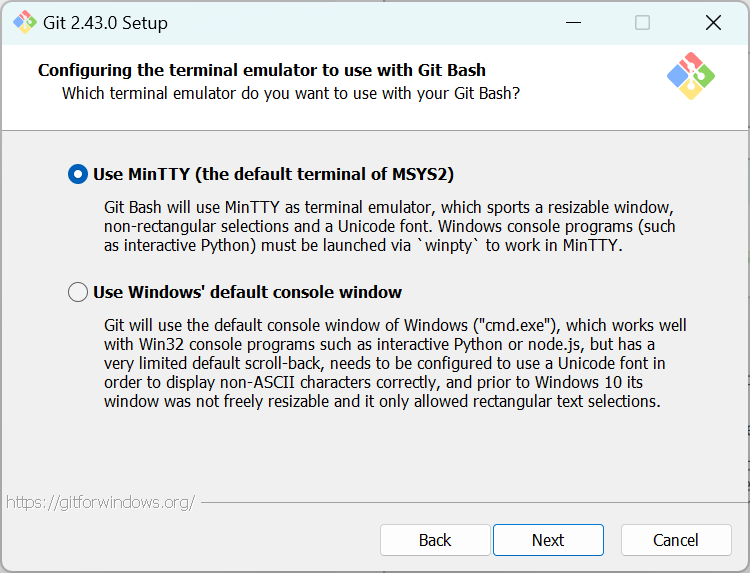
1.2.10 Configure Terminal Emulator
- The MinTTY option is recommended, as it provides a better user experience with Git Bash (e.g., adjustable window, better support for UTF-8).
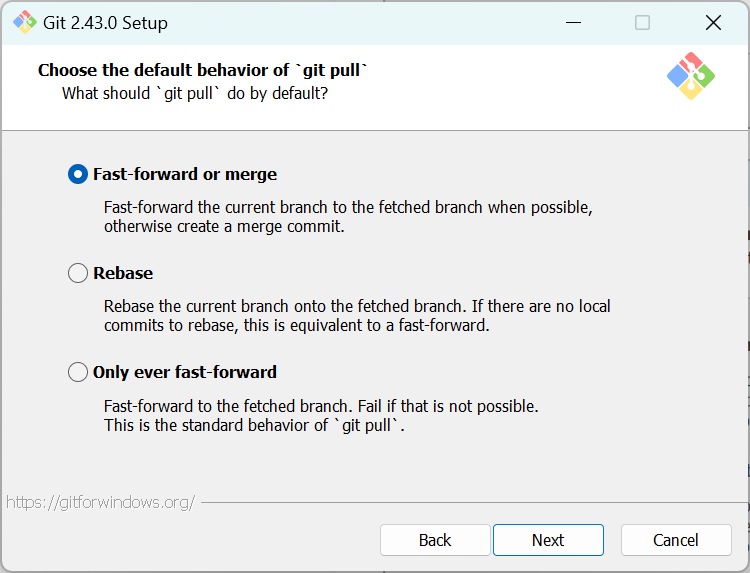
1.2.11 Choose Default git pull Behavior
- The default option is Merge, which is suitable for most users. However, if you prefer rebasing, you can choose that option.
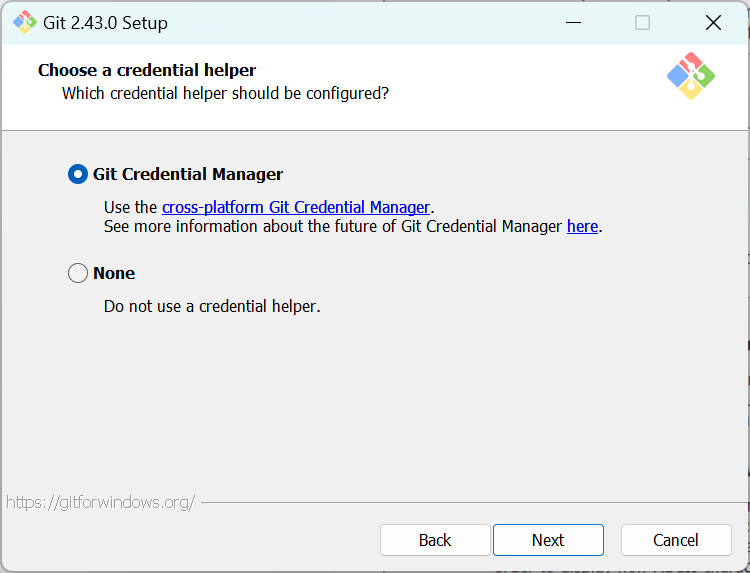
1.2.12 Credential Helper
- Enabling the Git credential manager will store your credentials securely so you don’t need to re-enter them every time you interact with remote repositories.
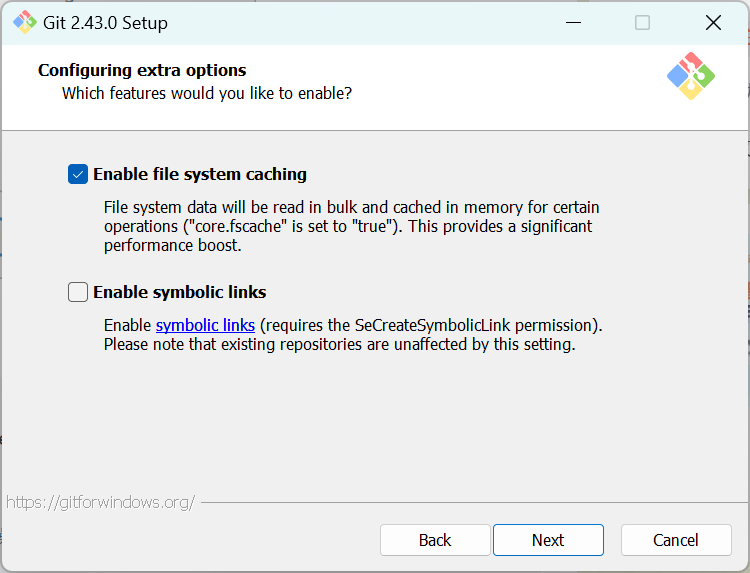
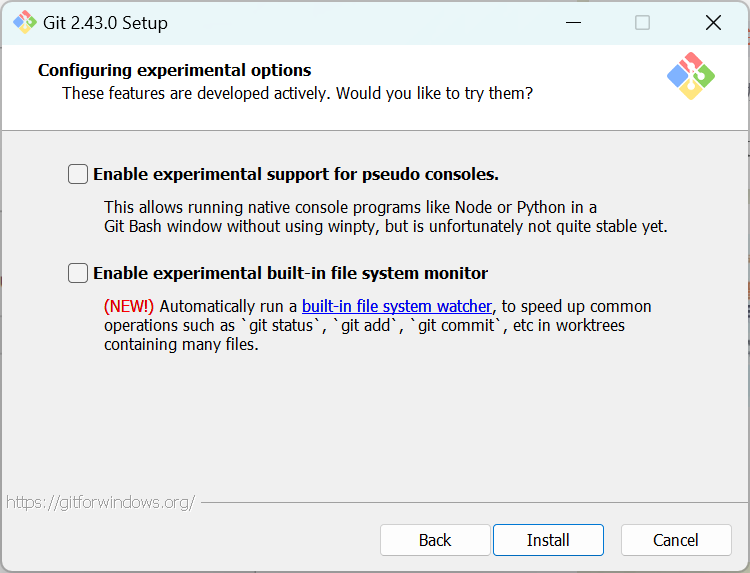
1.2.13 Configuring extra options
- Enable File System Caching: This option enables Git to cache file system data in memory for faster access during operations that require reading a large number of files. It can significantly improve performance, particularly when working with large repositories. This option is enabled by default.
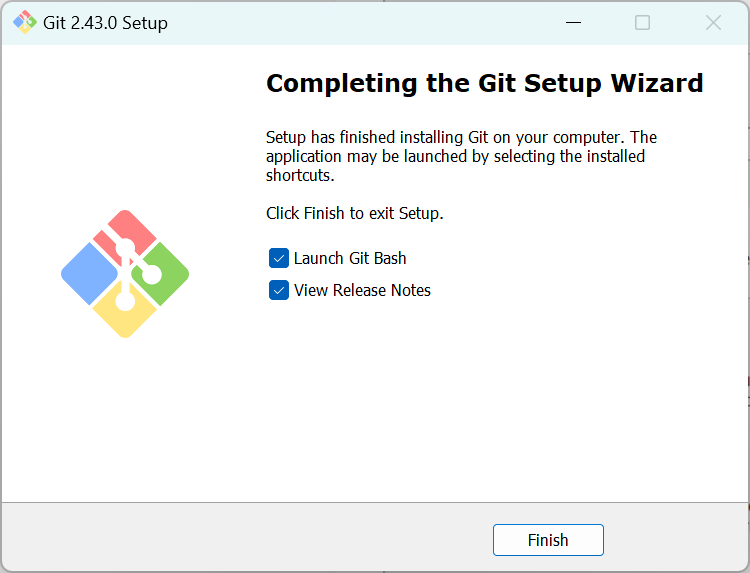
1.2.14 Finalize Installation
This is an experimental function, and there may be some small errors and the like. It is recommended not to turn it on.
Click Install to complete the installation process. After installation, Git Bash will be available in your Start Menu.
1.2.15 Installed successfully
Then you can type git version on the windows command prompt or “Git Bash” to verify Git was installed.
2 Git Features Introduction
2.1 Introduction
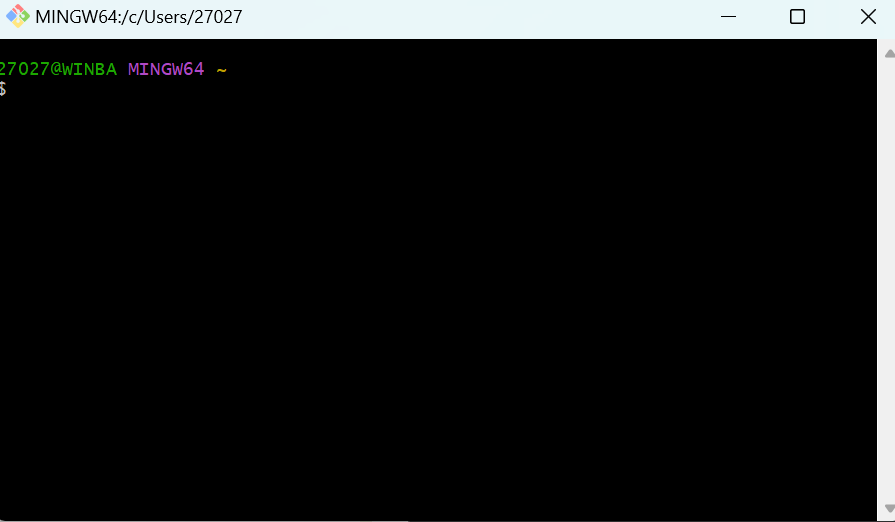
- Git Bash
Description: Git Bash is a command-line tool that provides an environment similar to the Linux shell, allowing users to use Unix-like commands on the Windows system. Use: With Git Bash, users can utilize Git’s command-line functionality to perform version control tasks such as cloning repositories, committing changes, and more.
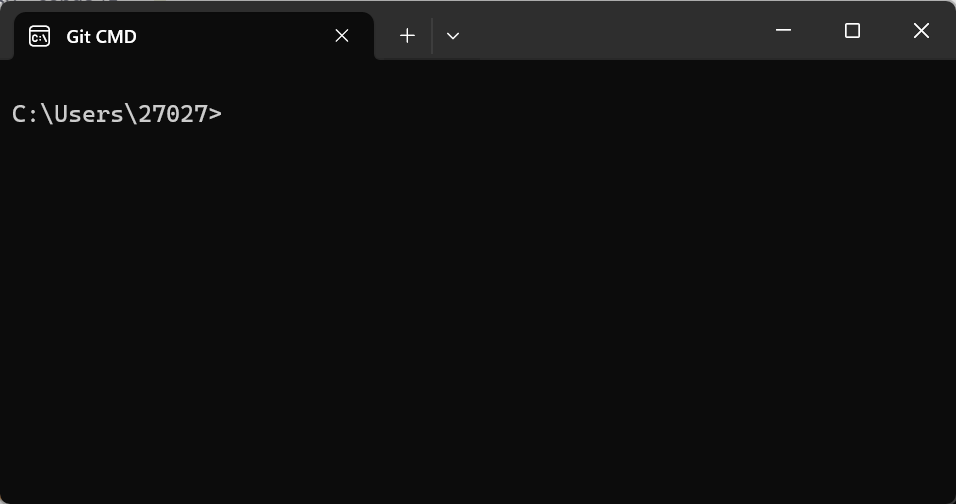
- Git CMD
Description: Git CMD is a command-line tool that runs in the Windows command prompt. Unlike Git Bash, Git CMD is closer to the native Windows command-line environment. Use: Similar to Git Bash, Git CMD allows users to execute Git commands in the command-line interface for version control operations.
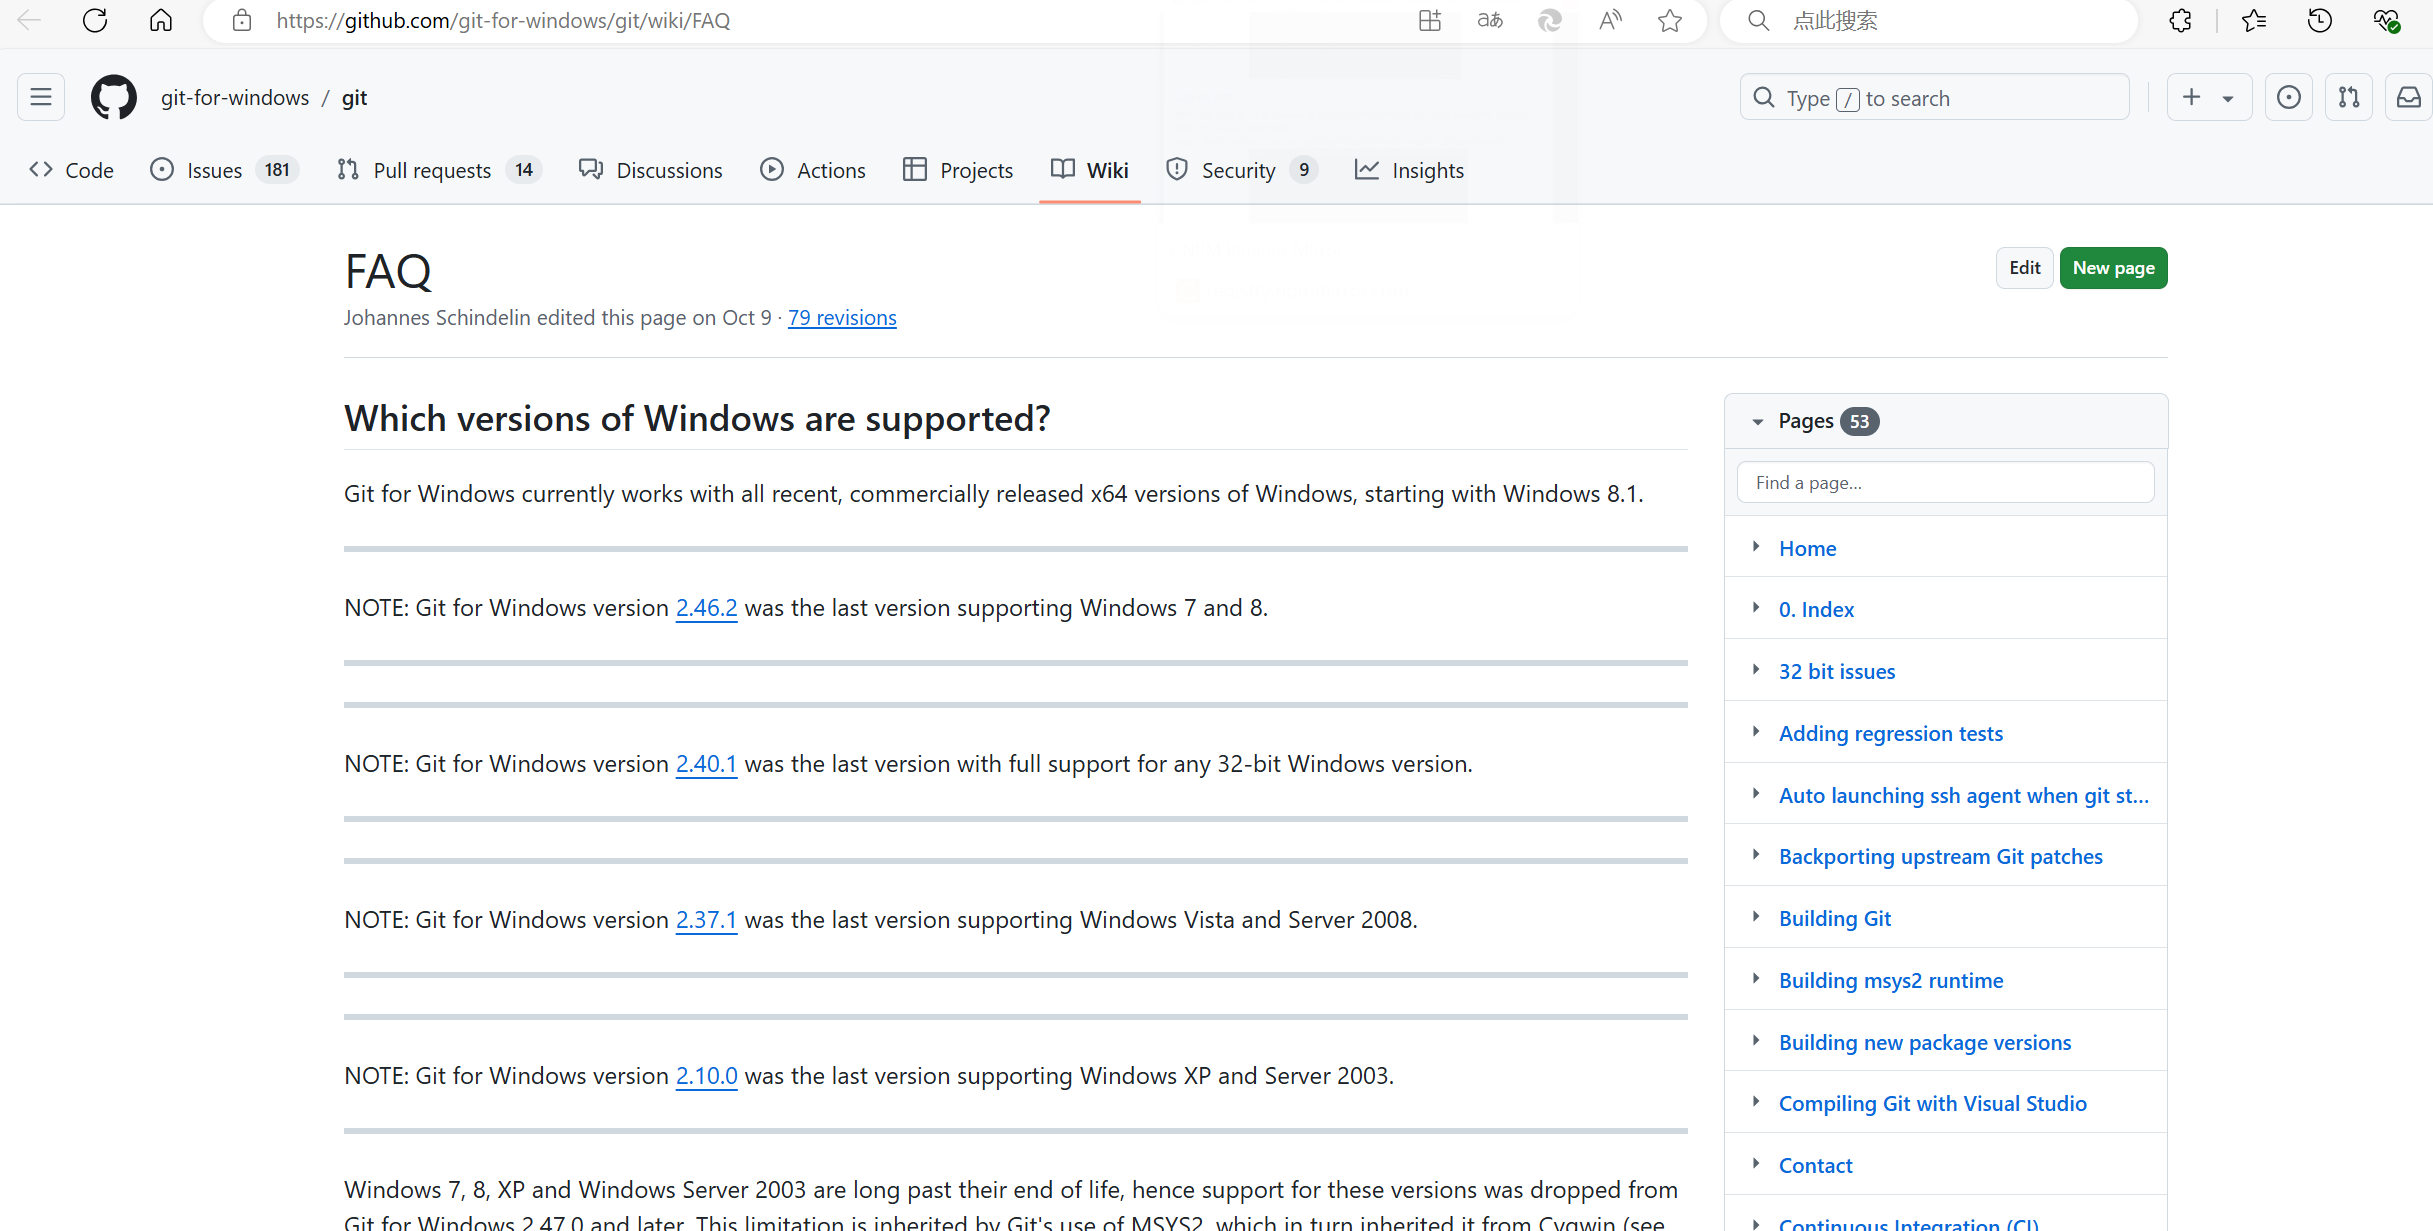
- Git FAQs
Description: Git FAQs (Frequently Asked Questions) contains a collection of common questions and answers, serving as a reference guide to help users resolve frequently encountered issues. Use: Users can refer to Git FAQs to find answers to common questions about Git and troubleshoot any problems they may encounter.
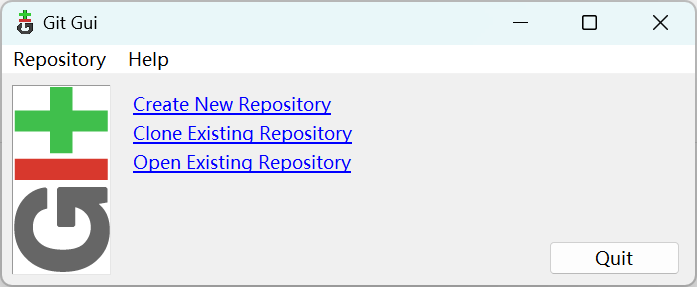
- Git GUI
Description: Git GUI is a graphical user interface (GUI) tool for Git, offering a visual interface that allows users to perform version control operations without using the command line. Use: Through Git GUI, users can more intuitively view the repository status, commit changes, view history, etc., making it suitable for users who are not accustomed to the command line.
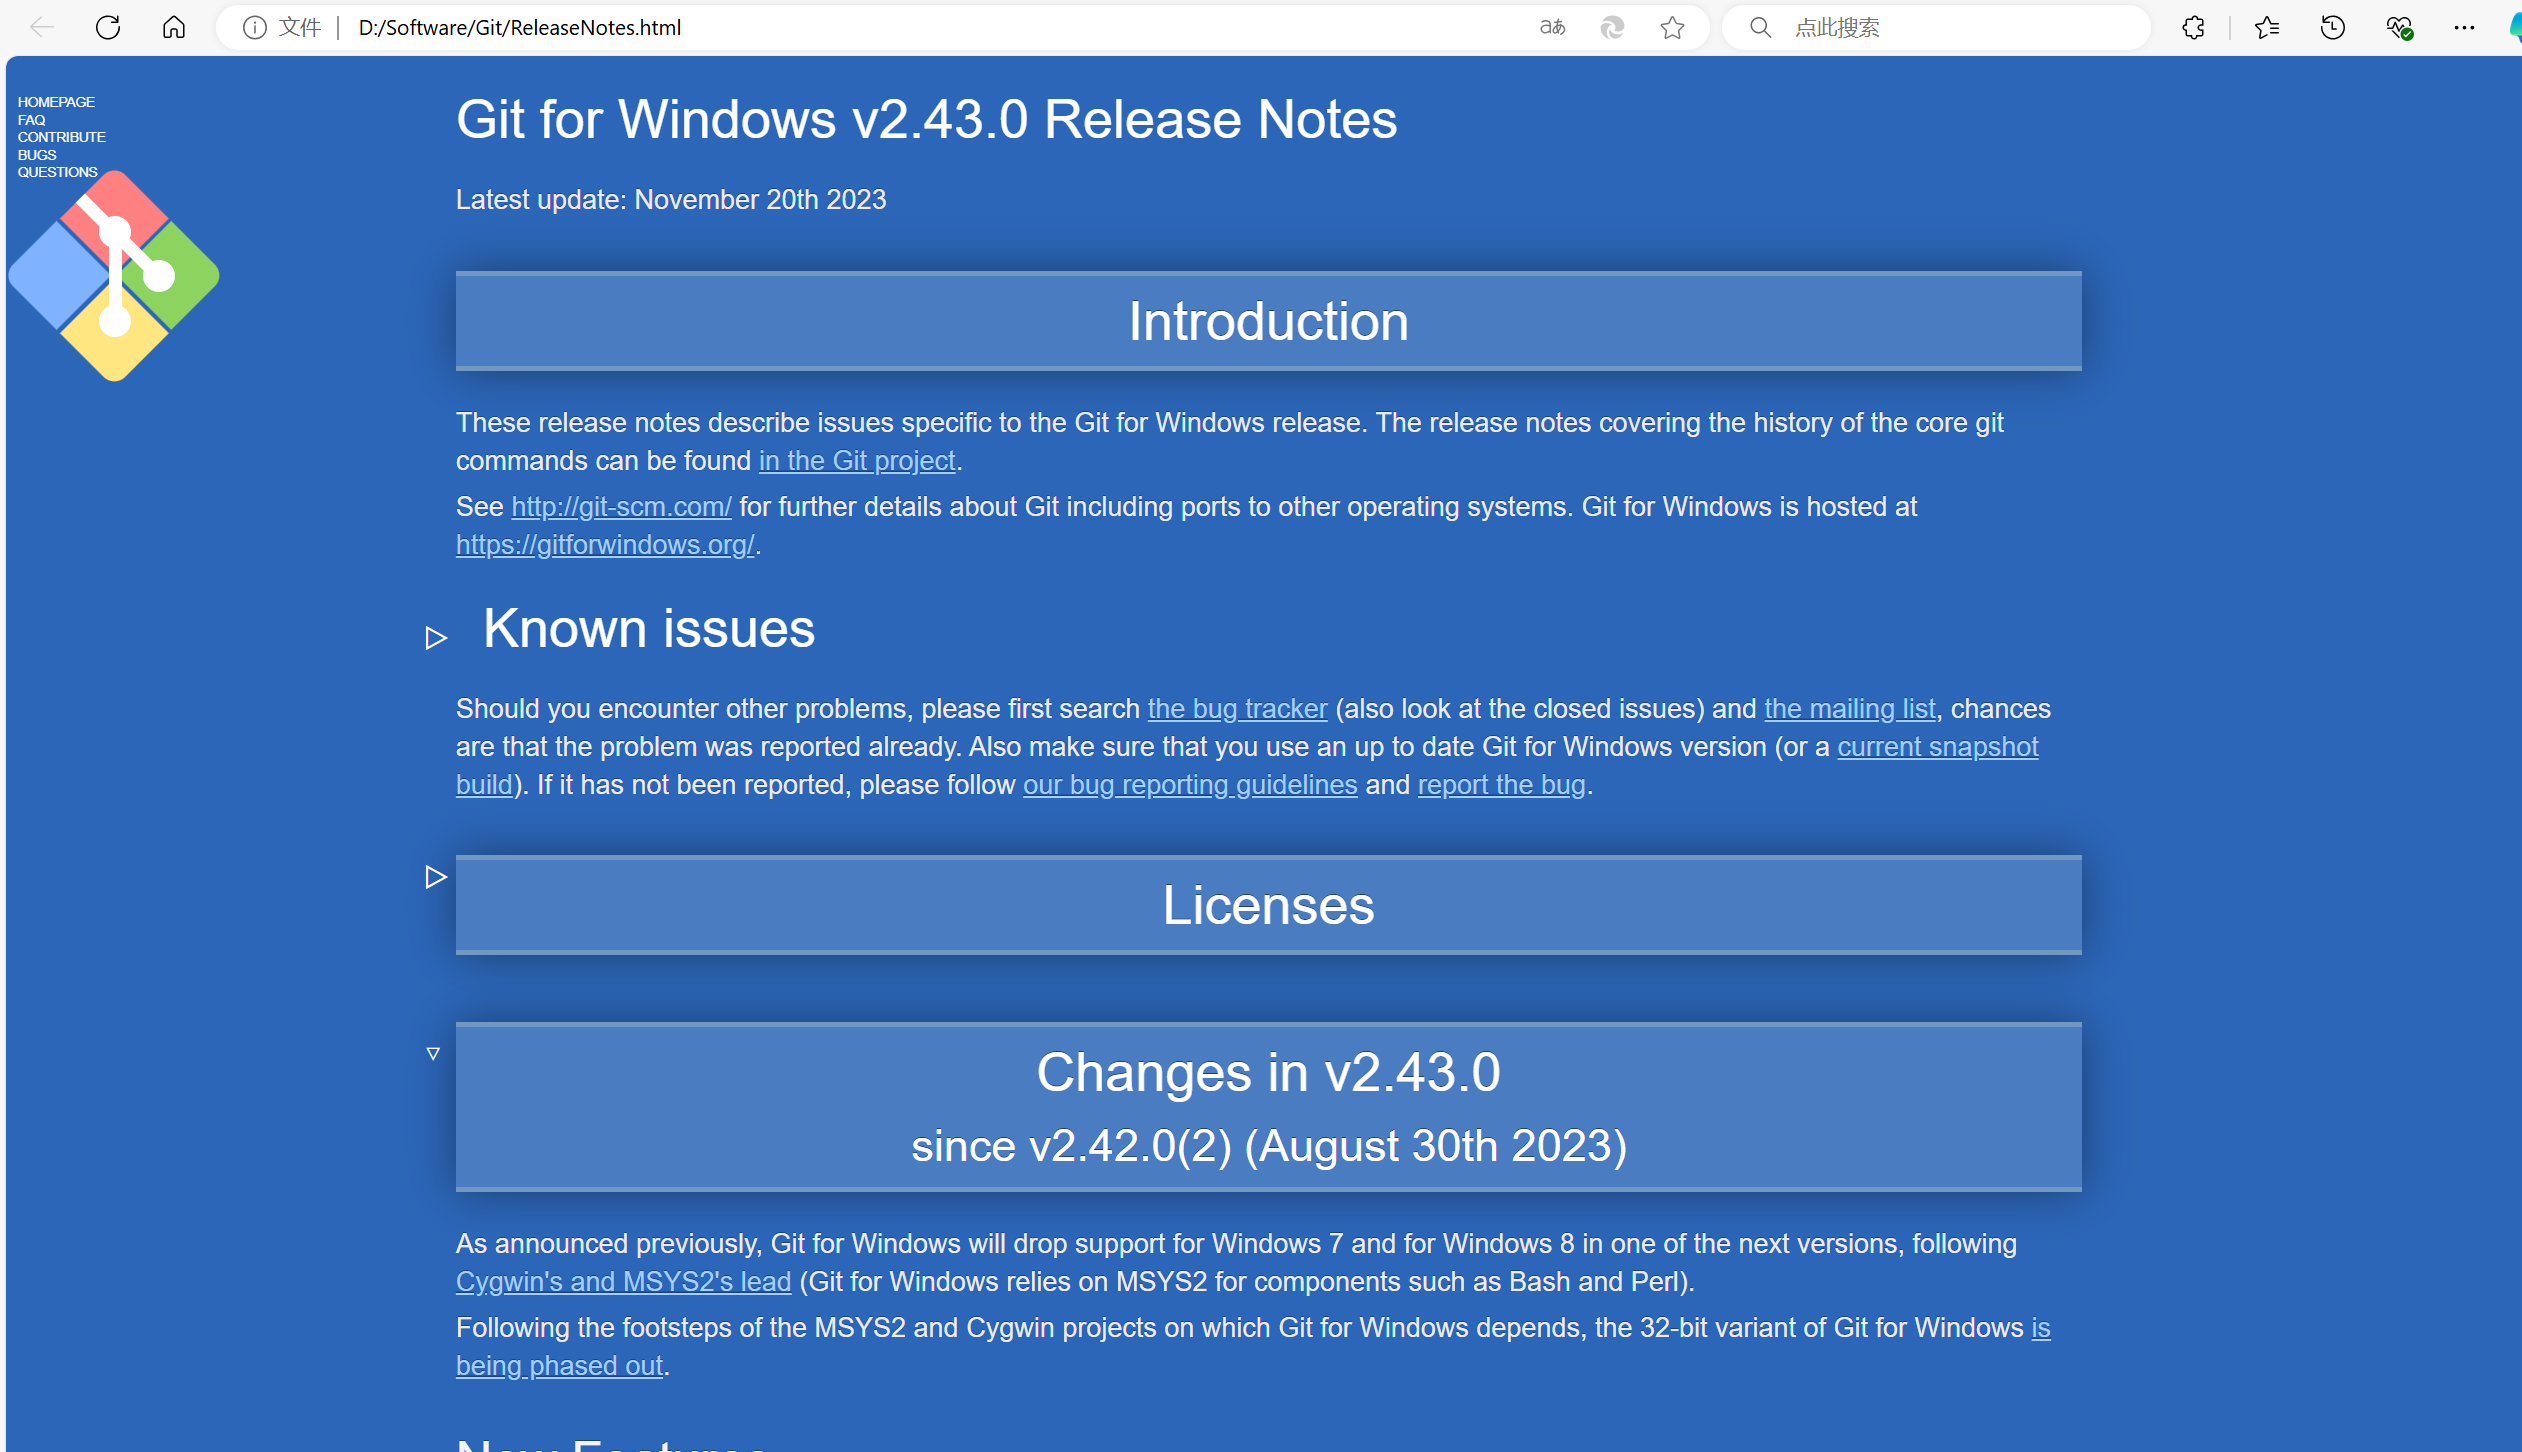
- Git Release Note
Description: Git Release Notes contain release notes for each version of Git, documenting the new features, improvements, and bug fixes for each version. Use: Users can refer to the Git Release Notes to learn about the updates for each Git version, including new features, improvements, and potential issues.
2.2 Basic Usage
2.2.1 Terminology
- Repository: A Git repository is a storage space for a project that contains project files and version history. It can be a local repository or a remote repository.
- Working Directory: The working directory is the project folder you see on your computer, which contains project files and subdirectories.
- Staging Area: The staging area is an intermediate area where changes to be committed are stored. Before committing, you need to add changes to the staging area.
- Commit: A commit is an operation that saves changes from the working directory and staging area. Each commit has a unique identifier (hash value) and includes a description of the changes.
- Branch: A branch is a working line of development in a project. New branches can be created to develop new features or fix bugs, and then merged back into the main branch.
- Main Branch: The main branch is the default branch of a project, usually referred to as “master” or “main”, and is the primary line of development for the project.
- Remote Repository: A remote repository is a copy of the project hosted on a network, such as on platforms like GitHub, GitLab, or Bitbucket, enabling collaboration among multiple developers.
- Clone: Cloning is the operation of copying the entire project from a remote repository to your local machine, creating a local copy of the repository.
- Pull: Pulling is the operation of fetching the latest changes from a remote repository and updating your local repository with those changes.
- Push: Pushing is the operation of uploading local changes to a remote repository, so the remote repository also contains the latest work.
- Merge: Merging is the operation of combining changes from different branches. It is usually used to merge new features or bug fixes back into the main branch.
- Conflict: A conflict occurs when changes from different branches conflict with each other during a merge, and manual resolution is required to resolve the conflicting changes.
2.2.2 Git Commands
Here are some commonly used Git commands, organized from most used to least used. Each command includes a short explanatory comment.
Basic Commands
git init# Initialize a new Git repositorygit config user.name "<name>"# Set your Git usernamegit config user.email "<email>"# Set your Git emailgit status# Check the status of your repogit add <file># Add a file to the staging areagit add .# Add all files to the staging areagit commit -m "<message>"# Commit changes with a messagegit log# View commit historygit log --oneline# View commit history in compact formatgit diff# Show changes between working directory and the last commitgit diff <branch1> <branch2># Show changes between two branchesgit show <commit># Show changes made in a specific commitgit ls-files# List all files tracked by Gitgit blame <file># Show who changed what in a filegit bisect# Find the commit that introduced a buggit reflog# Show a log of all local commitsgit cat-file -p <commit># Display the content of a commit objectgit rev-parse <ref># Get the SHA-1 hash of a referencegit fsck# Verify the integrity of the repositorygit gc# Clean up unnecessary files and optimize the repository
- Remote Repositories
git remote add origin <url># Connect local repo to remotegit push -u origin <branch># Push changes to remote branchgit pull# Pull changes from remote repogit clone <url># Clone a remote repositorygit remote -v# List remote connectionsgit remote rm <remote># Remove a remote connectiongit fetch# Fetch updates from remote repo without merginggit remote show <remote># Show details about a remote repositorygit remote rename <old-name> <new-name># Rename a remote repositorygit push --tags# Push all tags to remote repositorygit push --force# Force-push changes to the remote repositorygit push origin --delete <branch># Delete a remote branchgit pull --rebase# Pull and rebase the current branchgit fetch --all# Fetch updates from all remote repositoriesgit remote update# Update remote-tracking branches
- Branching & Merging
git branch# List all branchesgit branch <branch># Create a new branchgit checkout <branch># Switch to a branchgit checkout -b <branch># Create and switch to a new branchgit merge <branch># Merge a branch into the current branchgit branch -d <branch># Delete a branchgit branch -r# List remote branchesgit branch -a# List local and remote branchesgit branch -u <upstream-branch># Set upstream branch for the current branchgit branch -m <old-name> <new-name># Rename a branchgit branch --merged# List branches that have been merged into the current branchgit branch --no-merged# List branches that have not been merged into the current branchgit merge --abort# Abort an ongoing merge operationgit merge --squash <branch># Squash the commits from a branch into a single commitgit merge --no-ff <branch># Merge with a merge commit even if it’s a fast-forward merge
- Stashing
git stash# Save changes for latergit stash list# List stashed changesgit stash apply# Apply stashed changesgit stash drop# Remove a stashgit stash pop# Apply and remove the latest stashgit stash branch <branch># Create a new branch and apply a stashgit stash save "<message>"# Save changes with a custom stash messagegit stash clear# Remove all stashed changesgit stash apply <stash># Apply a specific stashgit stash drop <stash># Remove a specific stash
- Rebase & Cherry-picking
git fetch# Fetch updates from remote repogit rebase <branch># Rebase current branch onto anothergit cherry-pick <commit># Apply a specific commitgit rebase --abort# Abort an ongoing rebase operationgit rebase --continue# Continue a paused rebase operationgit rebase --skip# Skip a conflicting commit during rebasegit cherry-pick --continue# Continue a paused cherry-pick operationgit cherry-pick --abort# Abort an ongoing cherry-pick operation
- Reset, Remove, and Rename
git reset# Reset staging area to match the last commitgit reset <file># Remove a file from the staging areagit reset --hard# Discard all changes since the last commitgit rm <file># Remove a file from the repository and working directorygit mv <old-name> <new-name># Rename or move a filegit clean -f# Remove untracked files from the working directorygit clean -fd# Remove untracked files and directories from the working directory
- Tags
git tag# List tagsgit tag <tag-name># Create a lightweight taggit tag -a <tag-name> -m "<message>"# Create an annotated taggit push origin <tag-name># Push a tag to the remote repositorygit tag -d <tag-name># Delete a local taggit push origin --delete <tag-name># Delete a remote taggit tag --contains <commit># Find tags containing a specific commitgit describe# Describe the most recent tag and commit
- Advanced Commands
git submodule add <repository> <path># Add a Git submodulegit submodule init# Initialize Git submodulesgit submodule update# Update Git submodulesgit submodule foreach <command># Execute a command in all submodulesgit grep <pattern># Search for a pattern in the repositorygit log -S"<pattern>"# Search for commits that added or removed a patterngit archive --format=zip --output=<output-file> <branch># Create a zip archive of a branchgit shortlog# Summarize commit logs by authorgit log --graph --decorate --oneline# Display commit history as a graphgit rev-list --count <ref># Count the number of commits in a branchgit commit --amend# Modify the last commitgit commit --amend -m "<new-message>"# Modify the last commit messagegit reflog expire --expire=now --all# Remove all reflog entriesgit rev-parse --show-toplevel# Show the root directory of the repositorygit config --global alias.<alias-name> '<git-command>'# Create a Git aliasgit config --list# List all Git configuration settingsgit help <command># Show help for a Git command
3 Push local code to GitHub
3.1 Push to Your Own GitHub Repository
1. Create a GitHub Repository
- On GitHub, click the + button and select New repository.
- Fill in the repository name and description, then click Create repository.
2. Initialize the Local Repository
In your local project folder, initialize a Git repository:
git init

3. Link the Remote Repository
Link your local repository to the GitHub repository:
git remote add origin https://github.com/your-username/repository-name.git

4. Modify and Check Files
Modify or add files, then check the changes:
git status
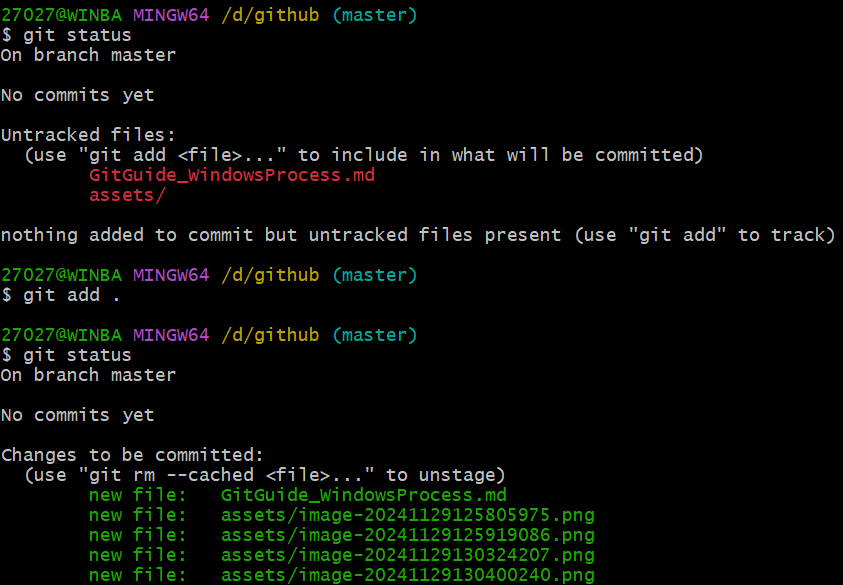
5. Add and Commit Changes
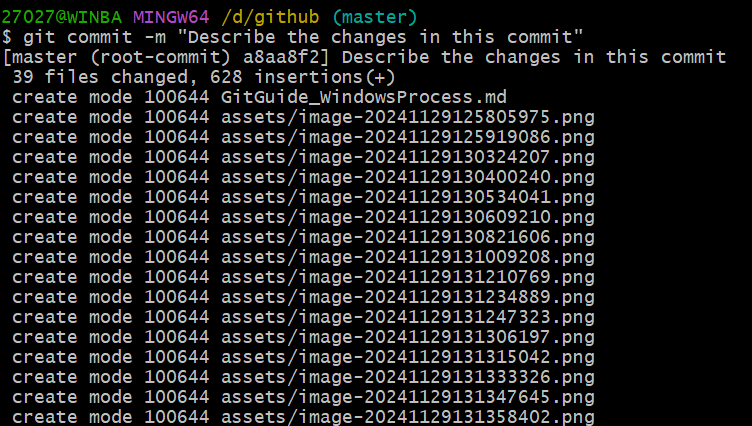
git add .
git commit -m "Describe the changes in this commit"
Before adding and committing changes, you may need to configure your Git username and email (if you haven’t already). You can set them globally or locally for each repository:
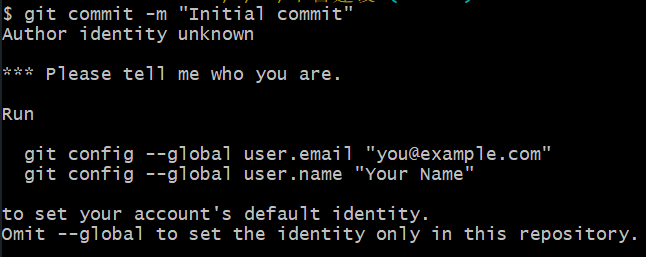
- Configure Git Username and Email (if not set)
Set your Git username and email globally (for all repositories):
git config --global user.name "Your Name"
git config --global user.email "your-email@example.com"
Or, you can set them locally for the specific repository:
git config user.name "Your Name"
git config user.email "your-email@example.com"

git config --global --list

6. Push to Remote Repository
Push the local changes to the main branch on GitHub:
git push -u origin master

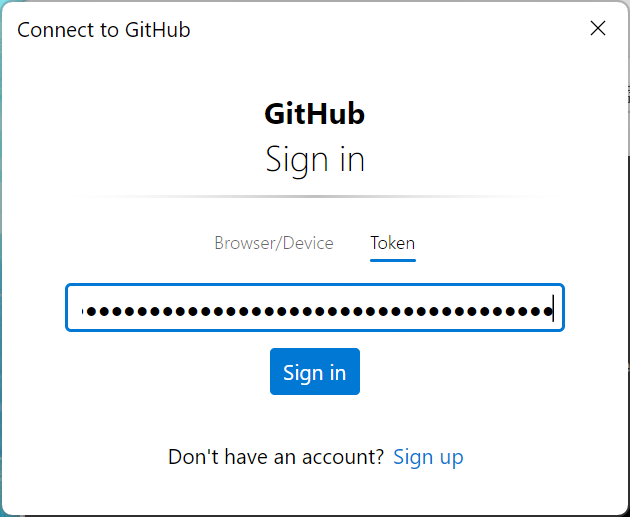
- If you’re using HTTPS, you will be prompted to authenticate. When asked for a username, enter your GitHub username.
- For the password, enter your Personal Access Token (PAT) instead of your GitHub password. GitHub no longer accepts passwords for git operations.
- Go to GitHub > Settings > Developer settings > Personal access tokens.
- Generate a new token with the necessary scopes (e.g.,
repofor full access to private repositories). - Copy the token and store it securely.
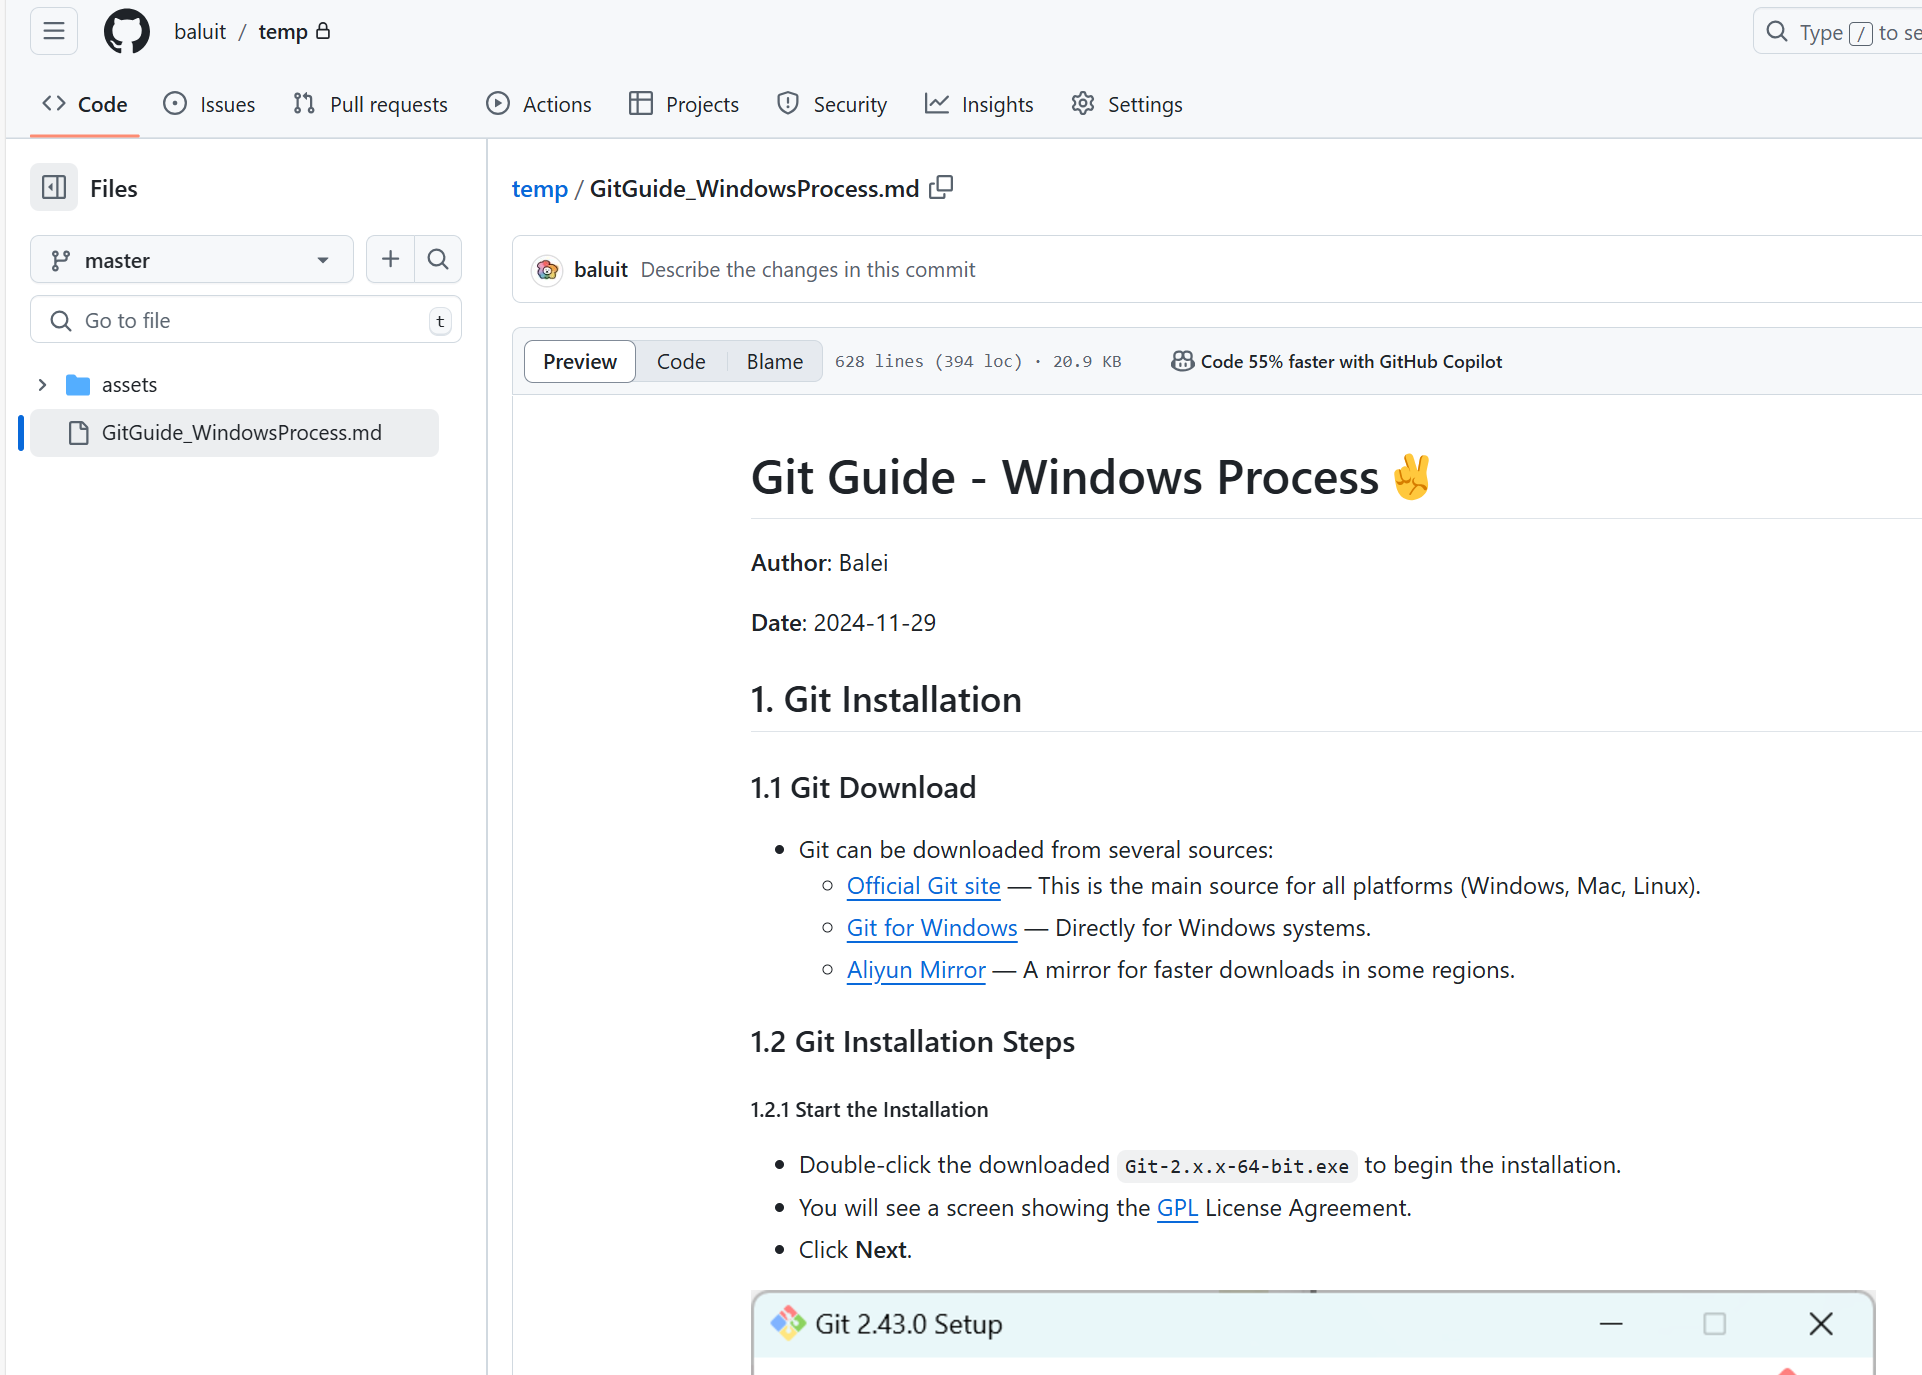
7. Verify the Push
Visit your GitHub repository to verify that the changes are reflected.
3.2 Push to a Repository Created by Someone Else (with Write Access)
If you have push access (write permissions), you can push directly to the repository.
1. Clone the Repository
Clone the repository to your local machine:
git clone https://github.com/username/repository-name.git
2. Pull Latest Changes
Before making changes, pull the latest updates from the remote repository:
git pull origin main
3. Modify and Commit Changes
Modify files, check the changes:
git status
git add .
git commit -m "Describe the changes in this commit"
4. Push Changes
Push your local changes to the remote repository:
git push origin main
5. Verify the Push
Check your GitHub repository to confirm the changes are updated.
3.3 No Push Permissions? Use Pull Request
If you don’t have push permissions, you can submit your changes via a Pull Request (PR).
1. Fork the Repository
Click the Fork button on GitHub to create a copy of the repository under your GitHub account.
2. Clone Your Forked Repository
Clone your forked repository to your local machine:
git clone https://github.com/your-username/repository-name.git
3. Pull Latest Changes from the Original Repository (Optional)
To stay in sync with the original repository, you can add it as a remote and pull the latest changes:
git remote add upstream https://github.com/username/repository-name.git
git fetch upstream
git checkout main
git merge upstream/main
4. Create a New Branch (Optional)
If you don’t want to modify the main branch directly, create a new branch:
git checkout -b new-branch-name
5. Modify Files and Commit
Modify the files, check and commit your changes:
git add .
git commit -m "Describe the changes in this commit"
6. Push Changes to Your Forked Repository
Push your changes to your forked repository:
git push origin main
7. Create a Pull Request
- Go to your GitHub repository page.
- You will see a prompt to compare your changes with the original repository. Click Compare & pull request.
- Fill in the PR title and description, then click Create pull request.
8. Maintainer Review
The maintainers of the original repository will review your PR and decide whether to merge your changes.